ANTHURIUM FERTILIZATION METHODS
It may be a good idea to fertilize your anthurium to promote longer-lasting blooms. To figure out the ideal timing and method for fertilizing an anthurium, we’ve spoken to specialists.
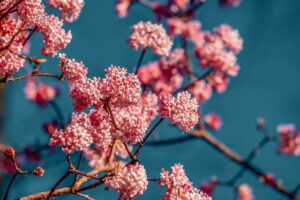
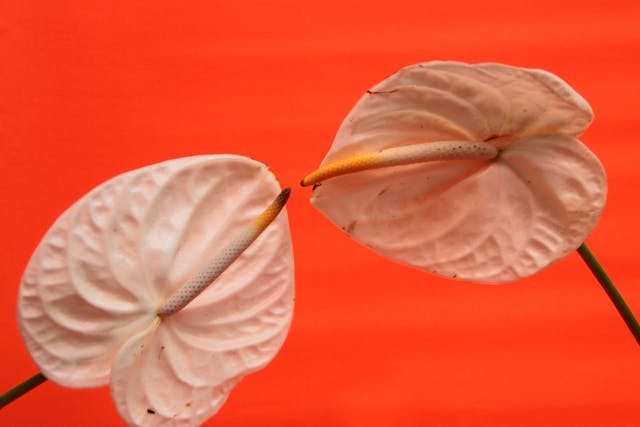
Anthurium Fertilization Schedule
Anthurium
Knowing when is the ideal time to fertilize indoor plants is necessary before you begin. One typical indoor plant error that might have detrimental repercussions is feeding your plant at the incorrect time of day.
Fertilizing an anthurium is best done while the plant is actively developing. According to Vladan Nikolic of Mr. Houseplant, anthuriums actively grow in the Northern Hemisphere from spring to early autumn.
When your anthurium is actively developing, new leaves and blooms will start appearing on it. “Because this demands a lot of energy, fertilizing at this time gives the plant an extra push and guarantees it uses all the nutrients effectively,” continues Vladan.
Fertilize your anthurium while it’s not actively growing. “It is not able to properly absorb the nutrients, which can cause minerals to build up in the soil and burn the roots,” says Vladan.
Similarly, it won’t take in as much water, which might lead to oversaturation of the soil and houseplant root rot.
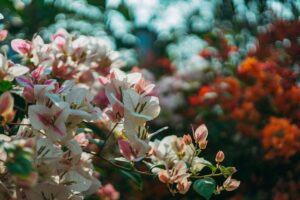
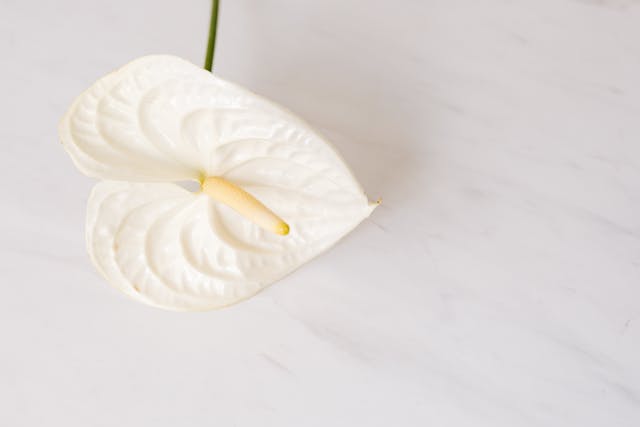
How Anthuriums Are Fertilized
Apply fertilizer to anthurium.
You must get the greatest houseplant food for your anthurium in order to fertilize it.
According to Vladan, “a balanced, water-soluble fertilizer with an NPK ratio of 20:20:20” is the ideal fertilizer for an anthurium.
The figures for NPK plant fertilizer indicate how much potassium, phosphorus, and nitrogen are included in the plant food. For most houseplants, a balanced fertilizer is a good choice, but for your anthurium, you may additionally want to choose a fertilizer with a greater phosphorus content.
Lisa Eldred Steinkopf of the Houseplant Guru explains, “Those fertilizers are made for flowering plants, encouraging the blooms to last longer, grow larger, and make the color more vibrant.”
You may next fertilize your anthurium with the plant food, depending on the kind you choose. The most common approach used by owners of houseplants is to dilute a liquid plant food in water and water their plants appropriately.
Place & Lighting –
It is best to place your specimen in a well-lit area that receives an hour or more of morning or evening sunshine. The plants that are maintained near windows that face north, north-east, or north-west are most likely to grow healthily and produce blooms and leaves that last longer. Keep yours away from really gloomy areas since they might get overwatered and have less photosynthesis-derived stored energy.
Water:
Since anthuriums are epiphytic—that is, they grow on trees—they cannot withstand waterlogging. One-third of the soil should be left to dry between irrigations in the spring and summer, and even less in the fall and winter. Because of their sensitivity to temperature changes, which may cause flower loss and slower development, avoid putting cold water on plants that are in bloom. Symptoms of underwatering include wilting, crispy brown areas on the leaves, flower loss, slowed development, and slow decline. These problems are often caused by heat or sunshine overload, neglect, or a much-needed reprieve. Lower browning leaves, stunted growth, wilting, or brown patches with yellowed halos on the leaves are signs of overwatering. These problems are often associated with either too wet soil between water bodies or insufficient light or heat. A typical problem for indoor gardeners is browning legions with yellow haloes around the foliage. This is often due to anaerobic soil from overwatering. Similar to oceanic bubbles, oxygen will rise to the top of the potting mix as you water it, starving the roots until they start to rot. See ‘Common Issues’ further down for further details.
Humidity:
To provide your plant a consistent, wet atmosphere, make a humidity tray. Its leaf tips may begin to curl and brown if the temperature is too hot or the saturation level is too low, particularly in direct sunshine. To moisten the leaves and reduce dust levels, gently water down the foliage occasionally.
Fertilization:
In the spring and summer, fertilize your plant every two weeks; during the winter, cut down to once a month. For maximum flowering time, use a potassium-based diet such as ‘Tomato’ food, although we’d still advise using a feed labeled ‘Houseplant’ throughout the year.
Because the roots are sensitive to strong chemicals, do not add “ready-to-pour” fertilisers straight into the soil without first pre-wetting.
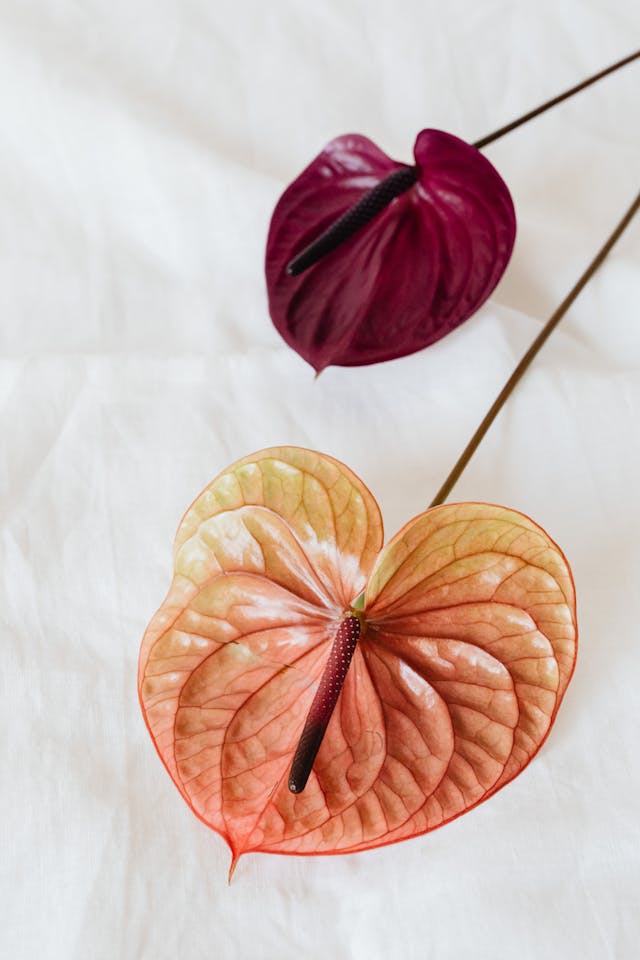
Araeanum anthurium
Winterization & Perennial Blooms
To strengthen its dormancy, provide a sunny, chilly fall and winter season of around 15°C (59°F). To put additional stress on the specimen and increase the likelihood of blossoming, keep the roots pot-bound. Typically, blooms emerge in the summer, when growth is at its most vigorous.
You should do the following in early fall and until the end of winter.
Light and Place
Make sure the area is well-lit and receives little to no direct sunlight. While the plant won’t necessarily be harmed by the winter sun, take care to avoid being very dehydrated and sunburned. Steer clear of deep darkness and artificial lights at night or in areas where the temperature is greater than 18°C (64°F).
Drinking Water
Water should be reduced until the soil is at least half dry. It’s critical to keep kids optimistic about life as otherwise, they’ll believe that difficult times are coming and will be forced to pass on their genes to the next generation.
Occasionally Feeds
Fertilisation using a ‘Houseplant’ feed should be done monthly throughout the fall and winter. During the flowering or developing stages, use a tomato fertilizer every two weeks to provide the blooms potassium food.
Cut Everything Down
I am reminding you that everything must be lowered, particularly the temperature.
The temperature
The most important step is to lower the temperature by about 5°C from midsummer levels or to a room temperature of 14°C to 17°C (57°F to 62°F). If the outside temperature remains constant all year long, you will be severely disadvantaged since Anthurium will only react in areas with daily variations of around 7℃. Never go beyond the minimum temperature since this might, at the at least, result in plant death or yellowing leaves. If everything goes well, you could see a display of blossoms the next summer. However, keep in mind that working with nature might not always yield the outcomes you’d want.
Hydroponically Growing Anthurium in Water
If yours is grown in water hydroponically, read the following information. We would advise against putting an Anthurium that is planted in soil into water since there is a significant chance that it may die from “Transplant Shock.” If you want a specimen that floats, take stem cuttings or basal offset divisions. (To find out more, scroll down to ‘Propagation’).
Every houseplant that is grown in water eventually has to be transferred to soil in order to continue growing. Lack of nutrition and inadequate air circulation around the roots will gradually weaken the specimen, increasing the likelihood of mortality. We believe that a Flamingo Flower in water should live no more than two or three years before it has to be moved into a bark container with the label “Orchid” and a diameter of 10 cm. After being cultivated in water for a few years, it will like to be maintained in an airy potting mix (such as Orchid Bark) to help rejuvenate the roots, however you may use ‘Houseplant’ compost instead.
Location: One of the most important things to think about while growing this plant in water is where it will be located in the house. Recall that compared to those reared in brighter locations, individuals raised in darker places had a far higher likelihood of developing root rot. While direct sunlight is not recommended, it is ideal to position them in an area with strong, indirect light to promote good development. One should think about placing anything on a windowsill facing north or within a meter of a window.
Water and cleanliness: If you keep up proper cleanliness, hydroponic plants need much less care than their counterparts that are cultivated on soil. Replacing the water once a week with tap water that has been left in a non-metal container for around 24 hours is crucial to maintaining the water’s cleanliness. This will lessen the danger of exposing this plant to low root temperatures as well as the elevated amounts of fluoride and chloramine.
Until the 24-hour time in the new water has elapsed, the plant ought to remain submerged in the original water. When the plant is briefly removed from the water, use the tap to thoroughly rinse the root system to eliminate any signs of rot. Then, put the plant back into the original glass container with fresh water. Poor water hygiene is evident if algae starts to grow on the roots or glass, or if the root caps start to decay. These issues need to be fixed very once. Rinse the roots under the tap for twenty seconds after wiping the glass with water and your fingertips (avoid using soap or other chemicals). To lower the chance of re-emergence, replace the water with brand-new tap water that has stood for 24 hours and submerge the specimen in the fresh water.
Fertilization: To reduce the possibility of oversupplementation, we advise using a concentrated product. A monthly water change should include a few drops of fertilizer added to the fresh water and left for a full day. When this resting time is finished, thoroughly mix the solution and put the plant back into the water to deliver the feed!
Typical Problems with Anthurium
The likelihood of generating yellowed leaf sections with browned halos will rise with a variety of concurrent cultivation problems. First off, if mold is growing through the soil, it’s typically a negative indication. The site can be too dark, causing the compost to remain too wet between waterings. Additionally, it’s possible that you’re using tap water that hasn’t been let to rest for a full day or that is very cold. Not only will the temperature drop during this rest time, but after a few hours the harsh chemicals (chloride and fluoride) employed to maintain water cleanliness will start to dissipate. To avoid further chemical burns, use fresh bottled water from a store or supermarket if at all feasible. Lack of fertilizer may be the last cause; consistent feeding is essential for strong, long-lasting leaves. The specimen will start to exhibit the nutritional inadequacies described in this article if it hasn’t been fed in excess of two months.
If your specimen has this typical issue, remove the afflicted leaves (not just the affected portions) and significantly enhance the growth environment. Regularly fertilize your plant with lukewarm water, being care to let the top third dry out between applications. Its new growth should be trouble-free, but don’t hesitate to schedule a one-on-one contact with us to talk about your concerns if you’d want to talk to someone at UKhouseplants for further guidance!
Transplanting your flamingo flowers into soil is essential to ensuring that they survive for many years to come, since they only have a limited time to exist in water. More than two years of insufficient air circulation and nutritional deficiency in water beds may ultimately lead your specimen to acquire root rot, weak health, and yellowed leaves. Should this transpire with your plant, make sure to trim off the impacted roots and foliage prior to moving it into an 8cm container labeled ‘Orchid’ to see if this aids in revitalizing its root structures.
Yellowed and dull leaves may indicate a lack of nutrients; this is especially typical in plants that are cultivated in water. In order to restore the proper balance of nutrients in your plant, make sure you move it into an 8cm plastic pot labeled “Orchid” Bark. The compost’s nutrients will be effective for around two months, after which the species will need routine feedings every four to six waters. The elder leaves should gradually wither away during maturity, leaving the young growth looking vibrant and ready to go.
Your hydroponically-grown specimens may be exhibiting symptoms of generalized health decline and root rot for a number of causes. First of all, their surroundings can be the problem. Is it bright enough to read a newspaper outside? If not, increase indirect light to optimize growth circumstances while minimizing the risk of too much direct sunshine. The size of the plant will determine how well it does; smaller examples (5 cm or less) will not root well since they have less stored energy.
To guarantee that harmful bacteria cannot proliferate and deteriorate on the plants, the water must also be changed once a week. Stems that have brown, mushy bottoms should be thrown out right away since the rot will spread to other stems that are undamaged. Since anthurium roots need a balance of water and oxygen, soil is always the ideal medium in which to grow them. Keep in mind that the deeper you go into the water, the less oxygen is available for the plant to use, which might lead to root rot. Look for evidence of this around the base of the plants and at the tips of the roots. To prevent root rot from spreading, put your anthurium in an 8–10 cm pot with orchid bark, which is sold at garden centers. This will provide a more oxygen-rich environment for the plant.
When specimens are left in too dark conditions with prolonged soil wetness, root rot is a regular problem. A decaying brown foundation, moldy soil, stunted development, and quickly fading leaves are some of the symptoms. Examine the plant’s health under the compost line after removing it from the container. You may proceed if the roots have a hint of yellow, but if they are brown and mushy, you need to take fast action. This site has further information on controlling root rot.
Lower leaves becoming yellow is an obvious symptom of overwatering, which is often caused by insufficient light. Reduce the amount of irrigations to prevent root rot, even though they may thrive in low light. Wilting and yellowing leaves are the consequence of the soil-borne illness, which is the disintegration of the root systems that prevents the plant from absorbing moisture and essential nutrients for development. To get further knowledge on treating root rot, kindly follow this website.